astro administration part 1
This tutorial should serve as a companion to the one here Operation of a Blog Built with AstroJS Static Site Generator which upon reading I felt was incomplete.
there are a bunch of themes listed on https://astro.build/themes, but so far, I think that Astro Paper is the best. Feel free to try installing a few once you’ve completed this tutorial.
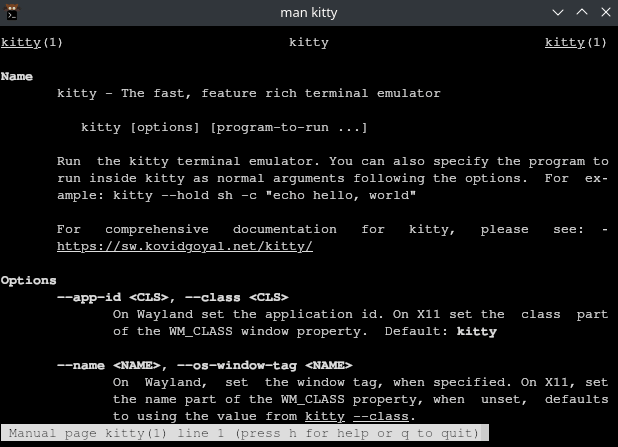
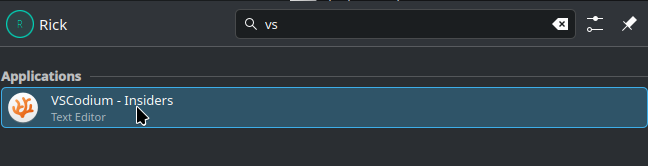
- Open terminal emulator. My personal favorite is Kitty, but you can use the system default if you don’t want to install anything. Open the launcher and start typing “terminal” or “console”, you’ll find one.
The following apply to every terminal emulator I’ve used.
-
ctrl-shift-topens a new terminal tab, mostctrlcommands must be combined with shift because the cli has its own set ofctrl+commands. For instance,ctrl-cin the cli will kill the foreground running process, overriding the default “copy”. In the terminal, addshiftto the default shortcutsctrl-shift-ccopies text,ctrl-shift-vlikewise to paste… -
You can also just select text and press the mouse wheel to paste from that separate clipboard
- cd into a directory where you want to put your development projects
mkdir Developmentcd ~/Development/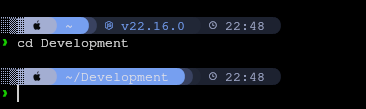
- make a directory for your astro sites
mkdir my-astro-sitesand cd into it
cd my-astro-sites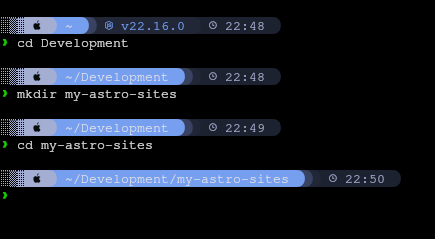
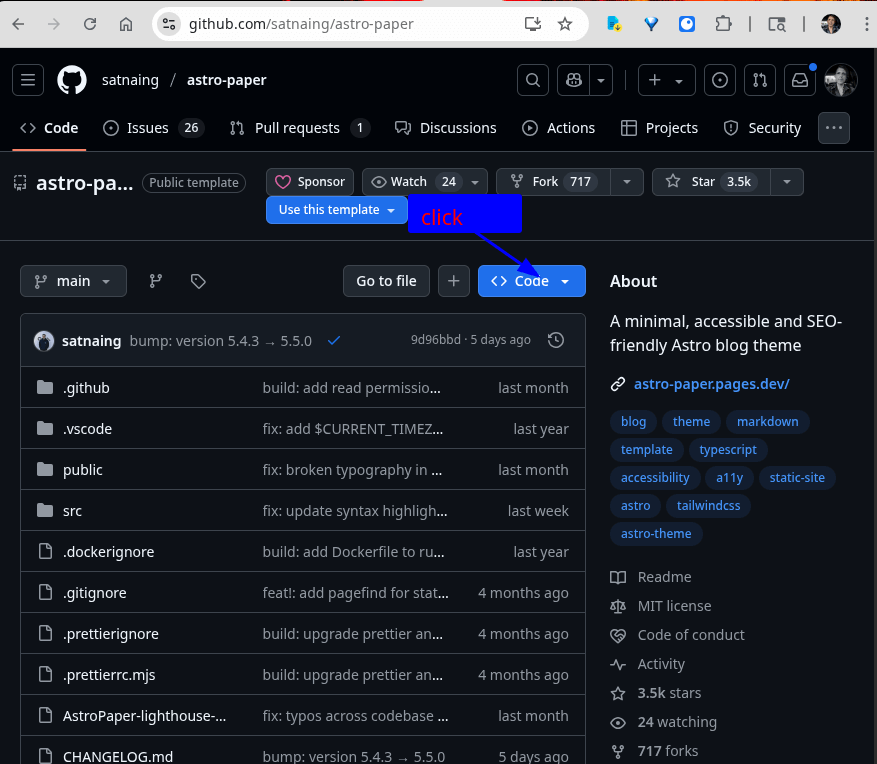
- back in the browser at Astro Paper. go to the code button: click it…
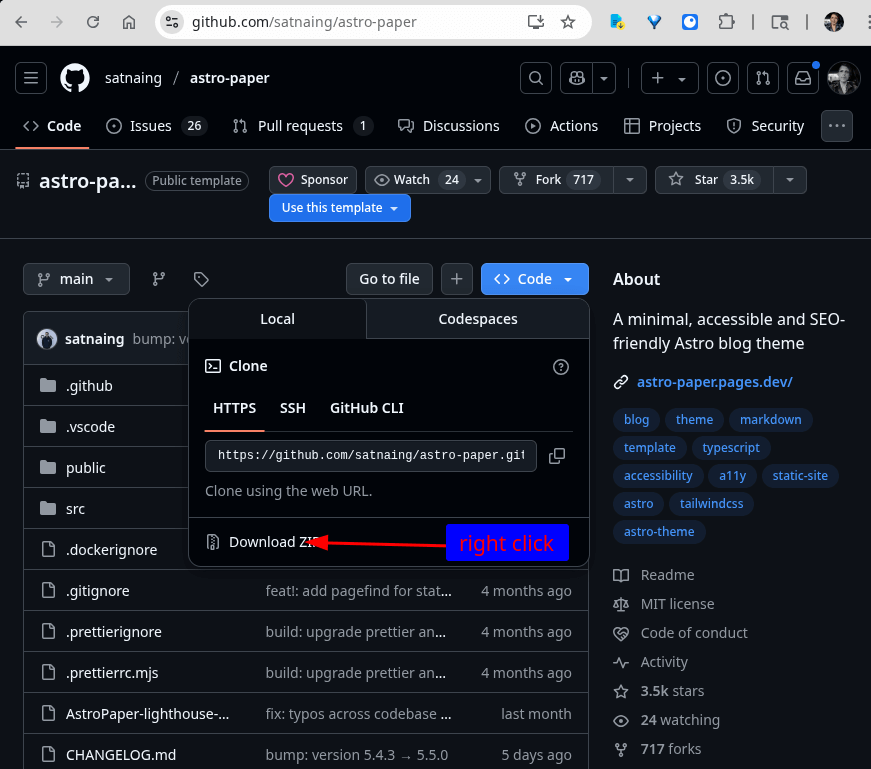
…and right click on download zip copy the link address. Then go back into the command line interface console window.

- Download the link you copied using
wgetoraria2c
wget https://github.com/satnaing/astro-paper/archive/refs/heads/main.zipor
aria2c https://github.com/satnaing/astro-paper/archive/refs/heads/main.zip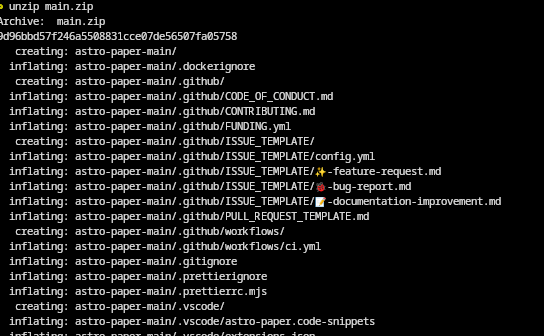
- depending on which downloader you used you’ll either have a file named
main.ziporastro-paper-main.zip. unzip it usingunzip
unzip main.zip- move (rename) the unzipped directory to something better descriptive
mv main my-new-astro-site- cd into it
cd my-new-astro-site- now, you’ll use a program called
npmwhich is the node package manager this is the primary command you’ll use when developing with nodeJS, it handles setting up development and production environments by downloading dependencies, running the development server, and running the scripts involved in packaging assets (this can be all kinds of things from minifying css, running sass/scss css compilers, converting typescript to javascript, builing static sites) for use in production. You’ll notice cli programs that do many different things like npm will have aas their first argument.
npm <command> <options>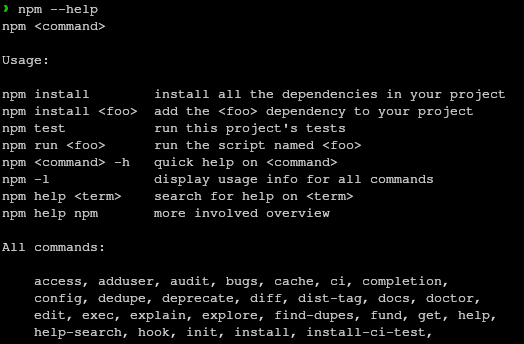
Such programs will often have a separate --help screen and man page for each command.
man npm install | man npm |
|---|---|
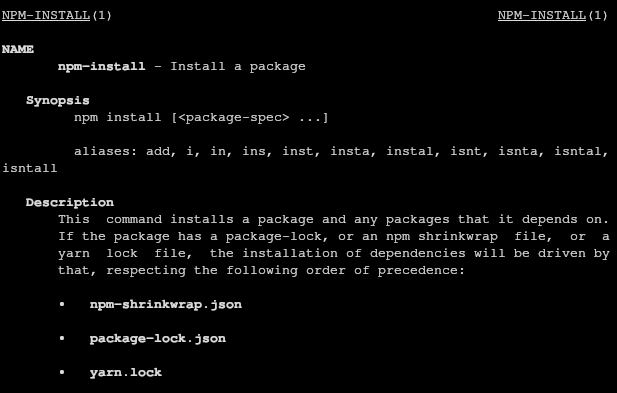 |  |
we’re going to use the subcommand install here to install the dependencies for the astro theme you downloaded. (an astro theme is really more like a distribution of astro since it contains the complete set of files necessary to create an astro site project)
npm install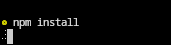
that will take a little while. once it’s done, you’re going to run another npm subcommand. this one will be specified by the astro project. and you can find in in the file package.json. take a moment to look at package.json
now run npm run dev
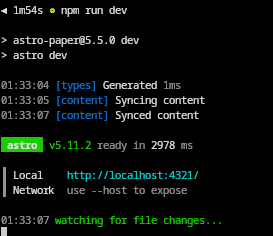
npm run devif it completes without error you should be presented with a url you can view your site on. leave npm run dev running and any edits you make to the code will be automatically updated on this test server
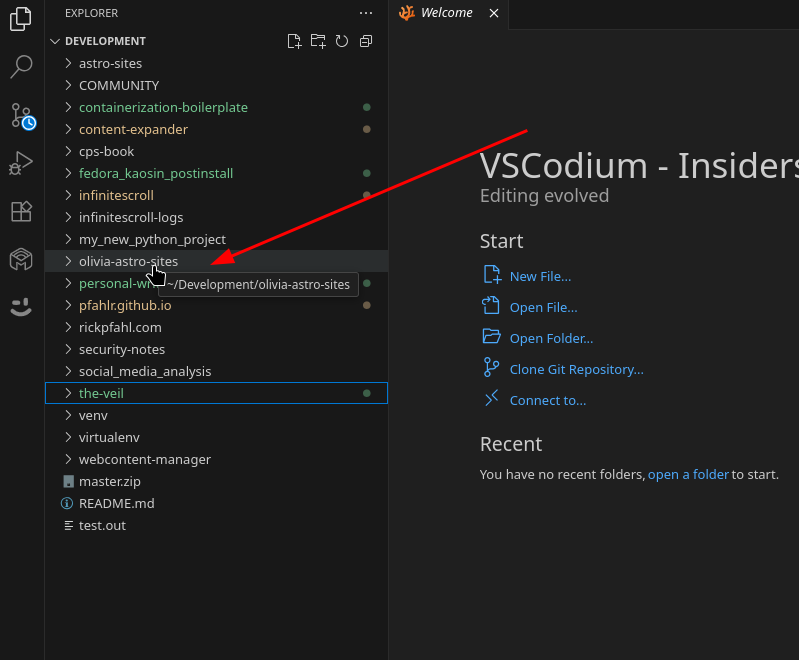
- Now you’ll want to open the IDE to edit your site’s files, add content etc. The program vscodium is a fork of VSCode which is one of the more widely used IDEs (for good reason, it’s good software).
- Find your project in the explorer pane (default is to the left)
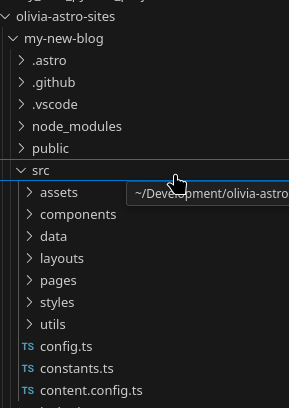
- Expand your project’s directory structure. Most of what you’ll edit will be under
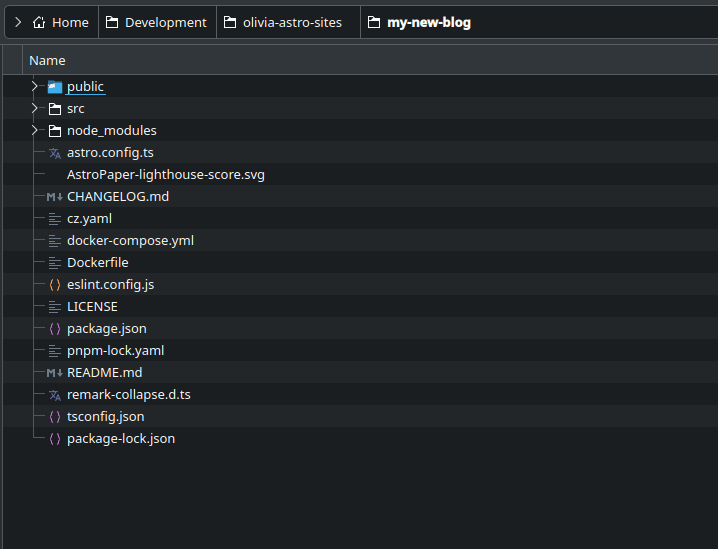
./src/, but there are a few configuration files at the project root that you’ll want to be aware of what they’re for to edit as well .
- In this version of astro paper, new blogs are added under
src/data/blogtake a look at the files that are already there
some assets (images etc) are stored under
./public/assetsand others are stored under
./src/assets/the difference depends on whether the paths get run through javascript at any point, if not, you must place them in public which automatically everything under that directory is copied to the dist directory on production build. (when building the site for production, you’ll run npm run build and read my tutorial about how to admin an astro site on newliteracy.online the entire site will be built under ./dist, try it and have a look for yourself. )
npm run buildcd dist
ls -alsee
also remember you can access the files from the cli, from vscodium or any file explorer program like dolphin
remember you can navigate up in the directory tree here with ‘alt+arrow up’
ok, now
-
try editing the configuration files necessary to make this site your own. and
-
add a few blog entries that you have chatGPT write for you
read Operation of a Blog Built with AstroJS Static Site Generator if you haven’t already, it has more information about this process for you.